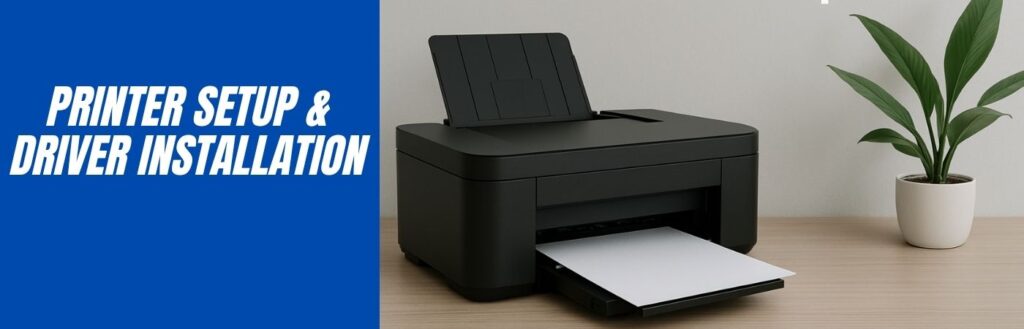
How to Set Up Your Printer
1. Unbox and Prepare
- Remove the printer from its packaging.
- Take out all protective materials and tapes.
- Plug in the power cable and turn on the printer.
2. Connect the Printer
- Wired Connection: Use a USB cable to connect the printer to your computer.
- Wireless Connection: Use your printer’s control panel to connect to your Wi-Fi network. Make sure your computer is connected to the same network.
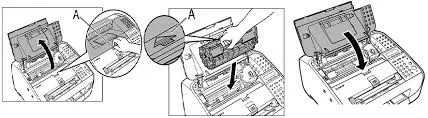
3. Load Paper and Ink/Toner
- Load the paper tray with the appropriate size and type of paper.
- Install ink cartridges or toner as per the printer manual.
4. Install Printer Software and Drivers
- Proceed to download and install the latest printer drivers (see below).
- Follow on-screen instructions during installation.
5. Print a Test Page
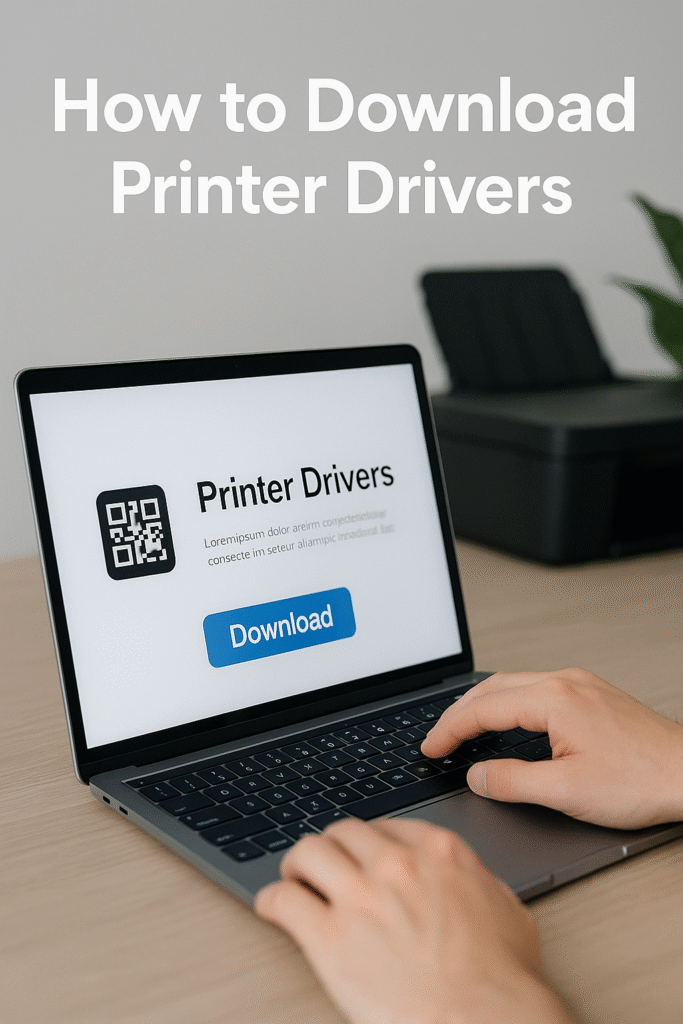
How to Download & Install Printer Drivers (Step-by-Step)
1. Identify Your Printer Model
Before you start, note down Exact model number. You can usually find this on the front or top of your printer.
2. Visit the Official Website
- Go to the website and find the download section
3. Search for Your Printer Model
- On the support page, locate the search bar.
- Type in your printer model.
- Select your exact model from the results.
4. Select Your Operating System
- The site may auto-detect your OS (Windows 10/11, macOS Monterey/Sonoma, etc.).
- If it’s incorrect, use the dropdown menu to manually select your OS and version.
5. Download the Driver
There are typically two types of downloads:
Full Feature Software / Driver Package:
- Recommended for new installations
- Includes all necessary drivers, scanning software, and utilities
Basic Driver:
- For advanced users or limited system resources
- Only includes the essential driver for printing
Click “Download” on the version that suits your needs.
6. Install the Driver
For Windows:
- Locate the downloaded
.exefile (usually in your Downloads folder). - Double-click to launch the installer.
- Follow the on-screen instructions:
- Restart your computer if prompted.
For macOS:
- Locate the
.dmgfile and open it. - Run the installer package (
.pkgfile). - Follow the instructions to complete the installation.
- Go to System Settings > Printers & Scanners, and click
+to add the printer if it doesn’t auto-detect.
7. Confirm Installation
- Print a test page or open your document to check functionality.
- Ensure scanning, copying, or faxing features also work if applicable.
How to Fix Printer Offline Issue
1. Check Printer Connection
- Make sure the printer is turned on and connected via USB or Wi-Fi.
- For wireless printers, ensure your device and printer are on the same network.
2. Set Printer as Default
- On Windows: Go to Control Panel > Devices and Printers, right-click your printer, and select Set as default printer.
3. Clear Print Queue
- Cancel all pending print jobs to avoid conflicts.
- Restart your printer and computer.
4. Restart Printer Spooler Service (Windows)
- Press Win + R, type services.msc and hit Enter.
- Find Print Spooler, right-click it, and select Restart.
5. Update or Reinstall Printer Drivers
- Download the latest drivers from the manufacturer’s website and reinstall.
6. Disable “Use Printer Offline” Mode
- Go to Devices and Printers, right-click your printer, and uncheck Use Printer Offline.
Frequently Asked Questions (FAQs)
Q1: How do I know if my printer driver is up to date?
A: Check the manufacturer’s website regularly for driver updates or use built-in update tools in your printer software.
Q2: Can I connect my printer to multiple devices?
A: Yes, many modern printers support multiple device connections over Wi-Fi or via USB switching.
Q3: Why is my printer not printing even though it’s online?
A: Ensure there’s paper in the tray, ink or toner levels are sufficient, and that the print queue is clear.
Q4: How do I change my printer’s default settings?
A: Access your printer preferences via Control Panel > Devices and Printers or the printer software on your computer.
Q5: What should I do if my printer prints blank pages?
A: Check ink or toner cartridges, clean print heads if applicable, and ensure correct paper type is loaded.